How to Air Fry Green Beans
Source: USDA food safety data + manufacturer guidelines
AirFryerCharts · Compiled & reviewed ·
Avoid these 3 mistakes
The difference between crispy and soggy
See the 3 mistakes →
Step-by-step
- Preheat the air fryer to 380°F for 3 minutes. A hot basket creates the immediate blister on the surface that defines good green beans — a cold start lets them slowly sweat and steam.
- Trim both ends off 1 pound of green beans, or buy pre-trimmed haricots verts to skip the step. Uniform, thin beans blister more evenly than thick, mature ones.
- Pat the beans completely dry, then toss with 1 teaspoon of olive oil and ¼ teaspoon of salt until evenly coated. The oil is what carries the heat and creates the blistered, charred surface.
- Arrange in a single layer with the beans barely touching. Overlapping traps steam and the pods steam instead of blister; work in two batches for a full pound.
- Air fry at 380°F for 8–10 minutes, shaking the basket once at the 6-minute mark to roll the beans. The shake exposes all sides to the direct heat so they blister evenly.
- Add minced garlic only in the final 2 minutes of cooking, tossing it through the hot beans. Raw garlic burns to bitter carbon at 380°F in under 3 minutes, so it goes in late.
Air fryer green beans turn the watery, flabby vegetable of childhood dinners into something you will actually seek out — blistered, charred pods with a satisfying snap and a sweet, concentrated flavor that steaming and boiling wash away. The thin profile of green beans means they cook through in minutes, and the forced convection chars the surface into those sought-after dark blistered spots while the interior stays crisp-tender rather than going mushy. A toss with oil and garlic, and you have a side dish faster than the oven can preheat, with a texture closer to a grill than a steam basket.
Why 380°F and 8–10 Minutes?
380°F (190°C) is the right call for green beans because they are thin and mostly water, so they need moderate-high heat to blister and char the surface before they overcook and collapse. At 400°F the thin pods scorch and shrivel before they tenderize; at 350°F they slowly wilt and lose their snap without ever browning. The 8–10 minute window is short precisely because the beans cook through fast — push past 12 minutes and you get shriveled, leathery pods with no texture left.
Pro tips
- Trim both ends or buy pre-trimmed haricots verts — fibrous ends ruin the tender bite
- Pat the beans completely dry after washing; surface moisture steams instead of blisters
- Toss with just 1 teaspoon of oil per pound — too much makes them greasy and limp
- Shake the basket once at 6 minutes so all sides blister evenly; do not stir constantly
- Add minced garlic only in the final 2 minutes — raw garlic burns to bitter at 380°F in under 3 minutes
How to Tell When It's Done
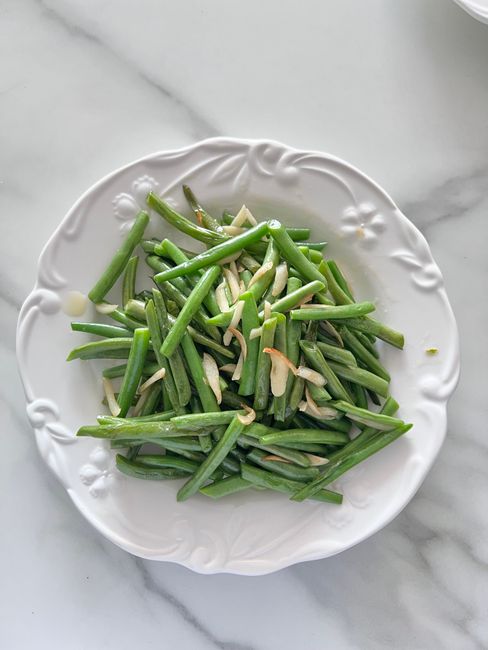
Green beans are done when the surfaces are charred and blistered with dark spots, the pods are bright green with a slight wrinkle, and they snap cleanly when bent but still have a tender bite — they should be crisp-tender, not floppy. Unlike meat, there is no internal temperature to hit — this is a visual and tactile call. If the beans are black and shriveled, you overcooked; if they are bright green and raw-tasting with no char, give it another 1–2 minutes.
Common mistakes
- Adding garlic at the start. Minced garlic burns to bitter carbon in under 3 minutes at 380°F; add it only in the final 2 minutes of cooking.
- Overcooking past 10 minutes. Thin, watery beans shrivel into leathery pods; pull when blistered but still snappy.
- Overcrowding the basket. Touching beans trap steam and blister unevenly; use a single layer with gaps.
- Leaving the beans wet. Surface moisture steams instead of blisters; pat them dry before oiling.
Serving Suggestions
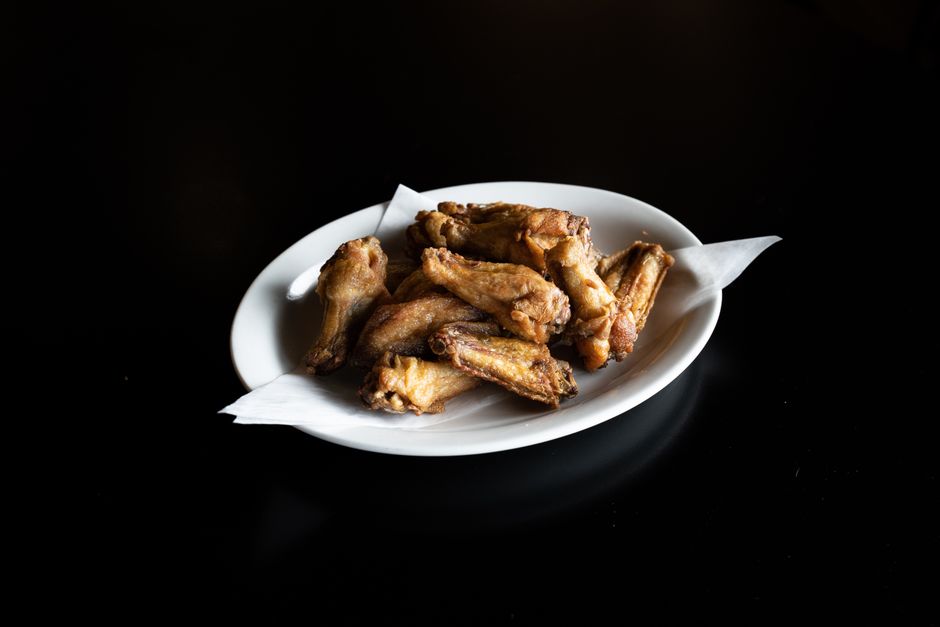
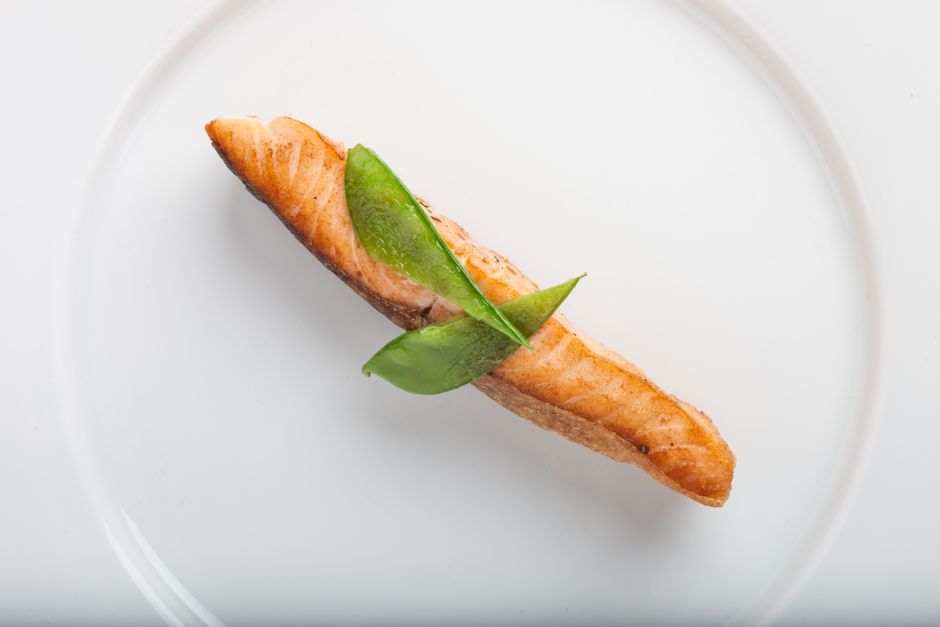
Serve immediately while the beans are still blistered and snappy — they soften as they sit. A squeeze of lemon, a shower of flaky salt, or a drizzle of sesame oil are the classic finishes. They pair naturally with steak, salmon, or fried chicken, and the charred pods make a great addition to a stir-fry or grain bowl.
Pairs well with: Ribeye / Sirloin Steak, Salmon Fillet
Times and temperatures verified against USDA FSIS safe minimum internal temperatures and manufacturer cooking charts (Ninja, Cosori, Instant Pot Vortex). Every air fryer runs slightly hot or cool — treat these as starting points and adjust ±2 minutes to taste.
Green Beans air fryer FAQ
Do I need to blanch green beans before air frying?
No. Air frying raw trimmed beans directly gives you the best blister and snap. Blanching adds moisture that fights against the charring you want from the dry heat — you would essentially be steaming them first, then trying to undo that with heat. Skip the blanch and let the dry heat do the work.
Why are my air fryer green beans shriveled?
You overcooked them. Green beans are roughly 90% water and thin, so they cook through fast and shrivel past the 10-minute mark. Check at 8 minutes and pull when the surfaces are blistered and charred but the pods still have a snap — they go from perfect to leathery in about 90 seconds at the end.
When should I add garlic to green beans?
Only in the final 2 minutes of cooking. Minced garlic burns to bitter carbon at 380°F in under 3 minutes, so if you add it at the start it will be black and acrid by the time the beans are done. Toss it through the hot beans in the last 2 minutes and it will toast without burning.
Can I air fry frozen green beans?
You can, but they will not blister the way fresh ones do. Frozen beans hold roughly 88% water and release it fast, so they tend to come out softer and more steamed than charred. For the best result, do not thaw them, bump the temperature to 400°F, and plan on 10–12 minutes with a mid-cook shake. Expect a softer, less blistered texture than fresh.