How to Air Fry Garlic Bread
Source: USDA food safety data + manufacturer guidelines
AirFryerCharts · Compiled & reviewed ·
Avoid these 3 mistakes
The difference between crispy and soggy
See the 3 mistakes →
Step-by-step
- Preheat the air fryer to 380°F for 3 minutes. A hot basket starts melting the butter and toasting the surfaces immediately; a cold start dries the bread out before the butter melts.
- Slice a baguette or Italian loaf at 1-inch intervals, cutting deep but not all the way through, so the slices fan out but the loaf stays together. Slicing before cooking gets the butter into every cut.
- Mix ½ cup of softened butter with 3 minced garlic cloves, 2 tablespoons of grated parmesan, 1 teaspoon of parsley, and ¼ teaspoon of salt. Use softened, not melted, butter so the garlic and herbs stay suspended.
- Spread the garlic butter generously between every slice and across the top of the loaf. Place the loaf cut-side up in the basket so the butter melts into the bread rather than dripping.
- Air fry at 380°F for 5–7 minutes. Check at 5 minutes — the edges should be golden and crisp, the butter melted and bubbling in the cuts.
- Pull the moment the edges are golden and the butter is bubbling. Slice the loaf all the way through and serve immediately while the bread is hot and the edges are still crackling.
Air fryer garlic bread turns a cold baguette into a buttery, crisp-edged, deeply golden loaf in under 7 minutes — faster than the oven can preheat and with a crisper result than the oven's slower heat allows. The forced convection melts the garlic butter into the bread and toasts the exposed surfaces into a crackling crust while the inside stays soft and pillowy, which is exactly the contrast good garlic bread demands. Slice the loaf deep before cooking so the butter gets into every cut, use softened butter so the garlic and herbs stay suspended, and you have a side that elevates pasta night, soup, or a simple salad.

Why 380°F and 5–7 Minutes?
380°F (190°C) is the right temperature for garlic bread because the goal is to melt the butter, toast the surfaces, and crisps the edges without burning the garlic or the thin crust. At 400°F the thin edges scorch before the butter melts through; at 350°F the bread slowly dries out and the butter never gets hot enough to infuse. The 5–7 minute window is short precisely because sliced bread toasts fast — check at 5 minutes and pull the moment the edges are golden.
Pro tips
- Slice the bread before cooking, not after, so the garlic butter gets into every cut and the slices toast evenly
- Use softened butter, not melted, so the garlic and herbs stay suspended rather than pooling at the bottom
- Slice the loaf deep but not all the way through, so the slices fan out and the bread stays together for easy handling
- Place the loaf cut-side up so the butter melts into the bread rather than dripping onto the basket
- Check at 5 minutes — garlic bread goes from golden to burnt at the edges in about 90 seconds
How to Tell When It's Done
Garlic bread is done when the cut edges are deeply golden and crisp, the top crust is lightly toasted, and the butter has melted completely and soaked into the bread — you should see it bubbling in the cuts. The bread should feel crisp at the edges and soft in the center when you press it. If the edges are dark brown, you overcooked; if the butter is still solid in the center cuts, give it another minute. The garlic should be fragrant and golden, not brown and bitter.
Common mistakes
- Waiting to slice the loaf until after cooking. Pre-slicing gets the butter into every cut for even flavor; slice before, deep but not all the way through.
- Using melted butter instead of softened. Melted butter lets the garlic sink; softened butter holds the garlic and herbs in suspension.
- Cooking at too high a temperature. The thin edges scorch before the butter melts through; 380°F is the sweet spot for even toasting.
- Overcooking past 7 minutes. Garlic bread burns at the edges fast; check at 5 minutes and pull when the edges are golden.
Serving Suggestions
Slice the loaf all the way through and serve immediately while the edges are still crackling and the butter is melted. It is the classic partner for pasta, soup, salad, or a bowl of mussels — anything saucy that begs to be soaked up. For a loaded version, top the hot bread with mozzarella and run it back in for 1 minute to melt. Leftover slices reheat beautifully back in the air fryer at 350°F for 2 minutes.
Pairs well with: Meatballs, Sausage (links)
Times and temperatures verified against USDA FSIS safe minimum internal temperatures and manufacturer cooking charts (Ninja, Cosori, Instant Pot Vortex). Every air fryer runs slightly hot or cool — treat these as starting points and adjust ±2 minutes to taste.
Garlic Bread air fryer FAQ
Should I slice garlic bread before or after cooking?
Before, slicing deep but not all the way through. Pre-slicing lets the garlic butter get into every cut, so the flavor penetrates and the surfaces toast evenly. If you wait until after, the butter stays on top and the center slices are plain. Fan the loaf out slightly so the cuts open up for even toasting.
Why use softened butter instead of melted?
So the garlic and herbs stay suspended evenly throughout. Melted butter lets the solids sink to the bottom, so the top of the loaf gets plain butter and the garlic pools in one spot. Softened butter holds the garlic, parsley, and cheese in suspension, giving you consistent flavor in every slice.
Can I make garlic bread from frozen in the air fryer?
Yes. Pre-made frozen garlic bread — the kind that comes sliced and buttered — cooks beautifully at 380°F for 6–8 minutes straight from frozen. Arrange the slices in a single layer, and check at 6 minutes. The air fryer gives you a crisper result than the oven and is much faster, with no preheat.
Why did my garlic bread burn at the edges?
You overcooked it or the heat was too high. Sliced bread toasts fast at the thin edges, and it goes from golden to black in about 90 seconds. Check at 5 minutes, use 380°F rather than 400°F, and pull the moment the edges are golden and the butter is bubbling.
More Snacks & Sides
 390°F
390°F
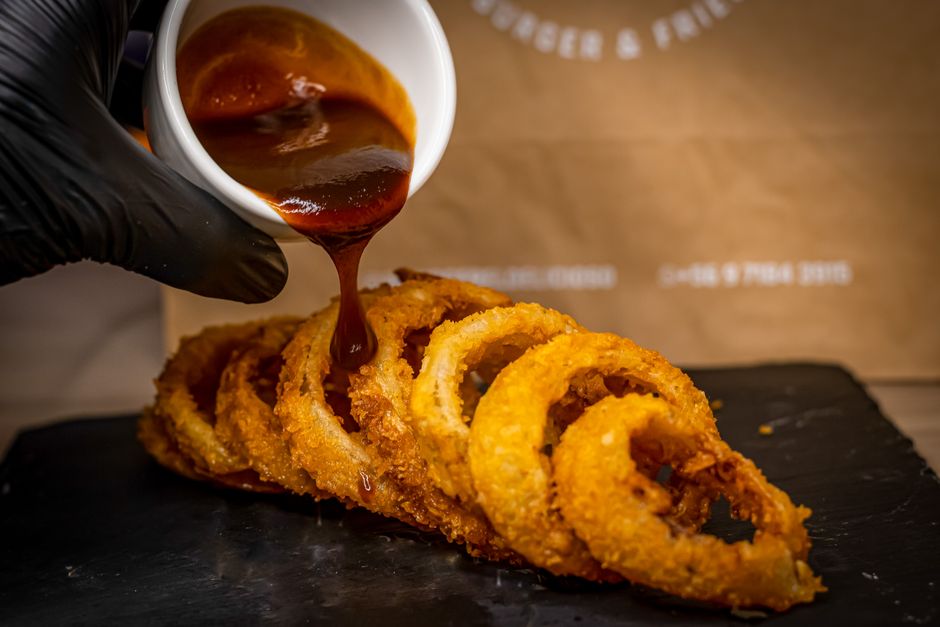
Onion Rings
Panko + buttermilk soak. Crispier than deep-fried, half the grease.
 400°F
400°F
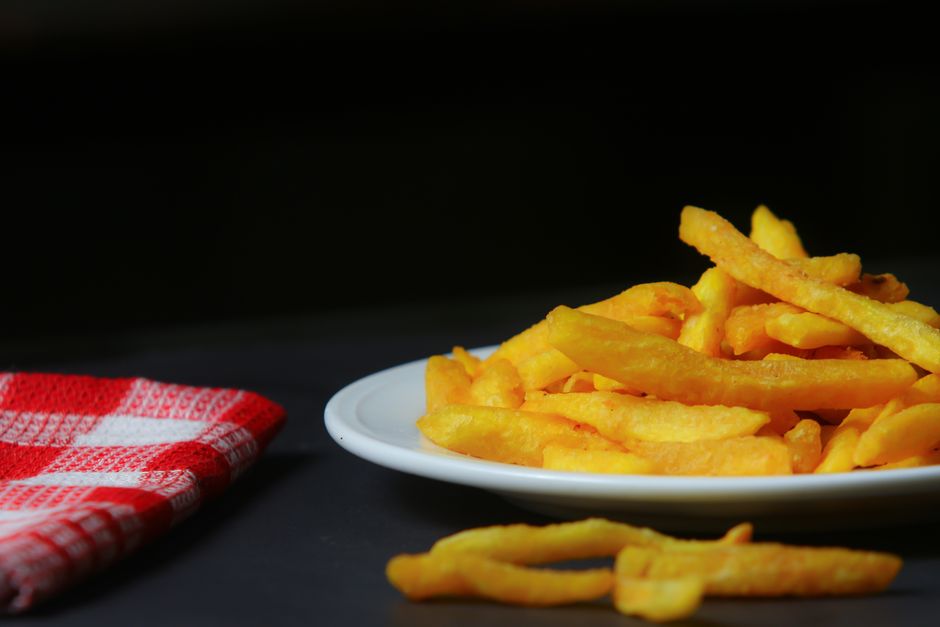
Homemade French Fries
Soak cut potatoes, dry, toss with oil — fluffy center, crisp edge.
 360°F
360°F
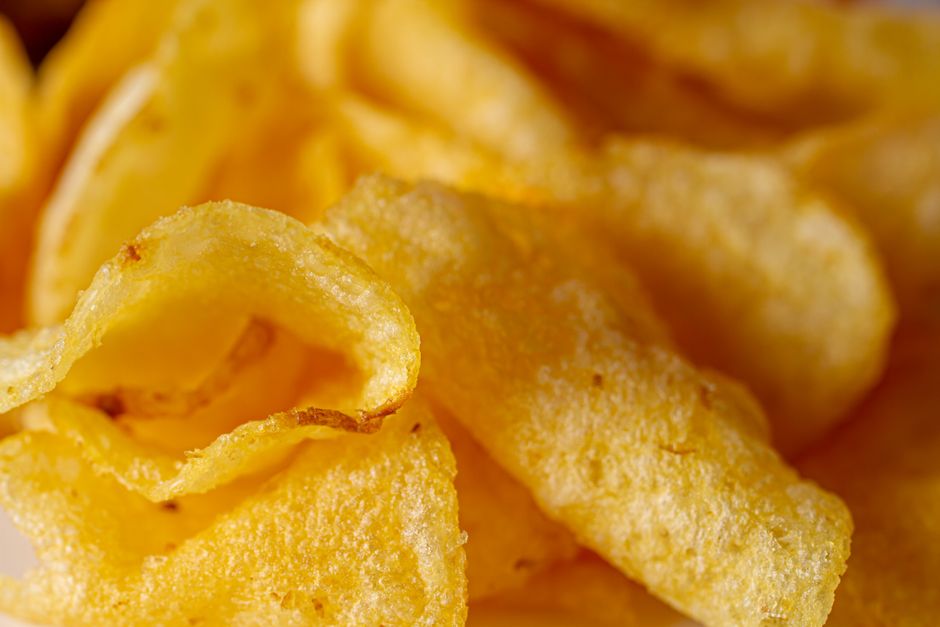
Homemade Potato Chips
Slice paper-thin, toss with oil — shatter-crisp, low-grease.